A printable calendar is a calendar you design on screen, download as a PDF file, and print yourself. The steps are quick, but the choices you make at the start decide whether the page is actually useful. This guide goes through the layouts in the Free Yearly Calendars maker, what each one can do, and how to check the result before you use ink.
Step 1: Decide what the calendar is for
Ask one question first: do you need to see detail or the big picture? Detail means appointments, times, and daily tasks, which suits monthly or weekly pages. The big picture means seeing a whole year of birthdays, school breaks, or project phases, which suits a yearly page.
Step 2: Pick the layout
| Layout | Pages | Typed notes | Photo |
|---|---|---|---|
| Classic Monthly | 1, 3, 6, or 12 months | Yes | Yes (top, watermark, or corner) |
| Monthly 5-Day | 1, 3, 6, or 12 months | Yes | No |
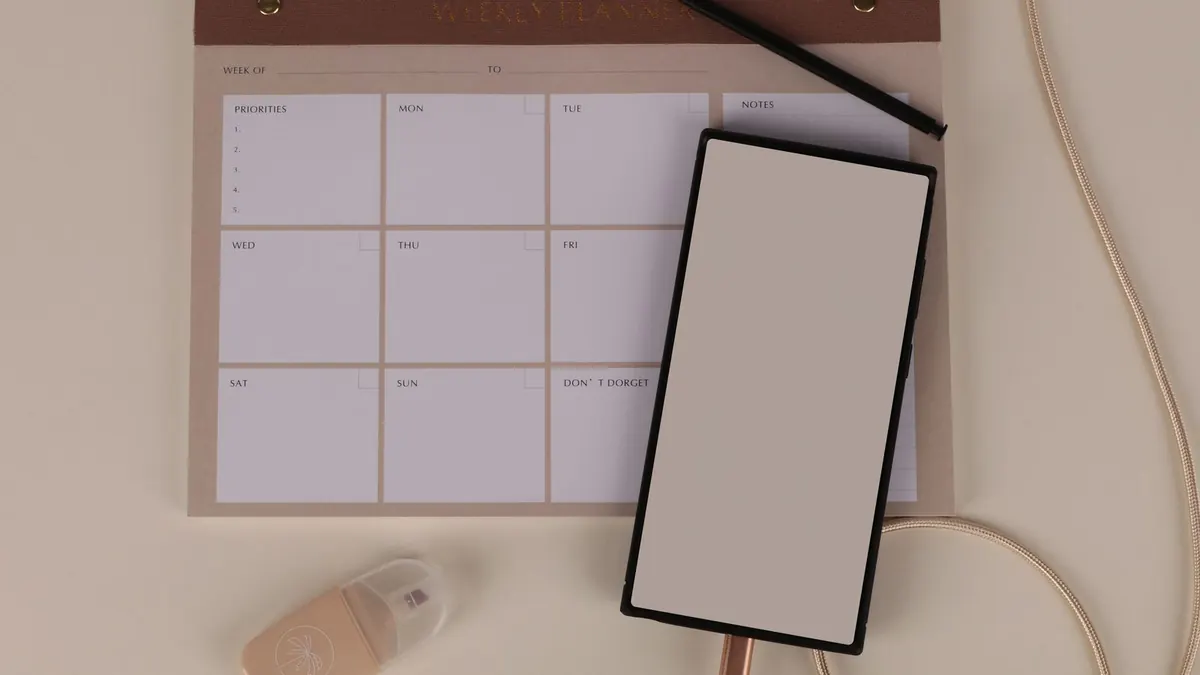
| Custom Weekly / Lined Weekly | 1, 3, 6, or 12 weeks | No, write by hand | No |
| Yearly Calendar | One page | No | No |
| Yearly Photo | One page | No | Yes (one photo) |
Monthly 5-Day shows Monday to Friday only, which is handy for school or office schedules. Weekly pages give each day more writing room, so they are meant to be filled in by hand after printing.
Step 3: Set the start and length
Choose a start month and year. For monthly and weekly layouts, choose how many pages you want: 1, 3, 6, or 12. A weekly calendar begins with the week that contains the 1st of your start month, so a weekly page may include a few days from the end of the previous month.
Step 4: Choose week start, colors, and font
Pick Sunday or Monday as the first column (not offered on Monthly 5-Day). Choose a color, or Rainbow for a different shade each month, and one of three fonts. Light colors leave more room for handwriting to stand out. Text on colored headers automatically switches between dark and white for readability.
Step 5: Add dates that matter
- On Classic Monthly and Monthly 5-Day, tap a day in the preview and type a short note, such as “Mia's birthday.” It prints in the box with your highlight color.
- The US holidays switch on those two layouts shows a fixed set of major US dates, like Thanksgiving and Christmas Day. Turn it off if it does not suit you.
- On weekly and yearly layouts, there is no typing. Print the page and mark dates with a pen.
Step 6: Add a photo (optional)
Classic Monthly and Yearly Photo can include a photo. Photo uploads and custom colors unlock after you enter your email, which also signs you up for Free Yearly Calendars emails. Photos are processed in your browser. Use the position sliders to choose which part of the photo shows.
Step 7: Download and check the PDF
- Press Download free PDF. Every layout downloads as US Letter in landscape (wider than tall).
- Open the file and scroll through every page. Check the month names, notes, and photo crop.
- Print one page as a test before printing a full year.
Common mistakes
- Typing long notes. Boxes fit a few short lines; keep notes to a few words.
- Expecting your design to be saved. The maker keeps nothing after you leave, so download before closing the tab.
- Choosing yearly when you need writing space. A yearly page is for overview, not daily notes.